
Production 2 min read Updated 5 March 2026
Contour cut stickers: kiss-cut or full-cut
What each cutting type means, how to prepare the cut contour and which one to choose for your product.
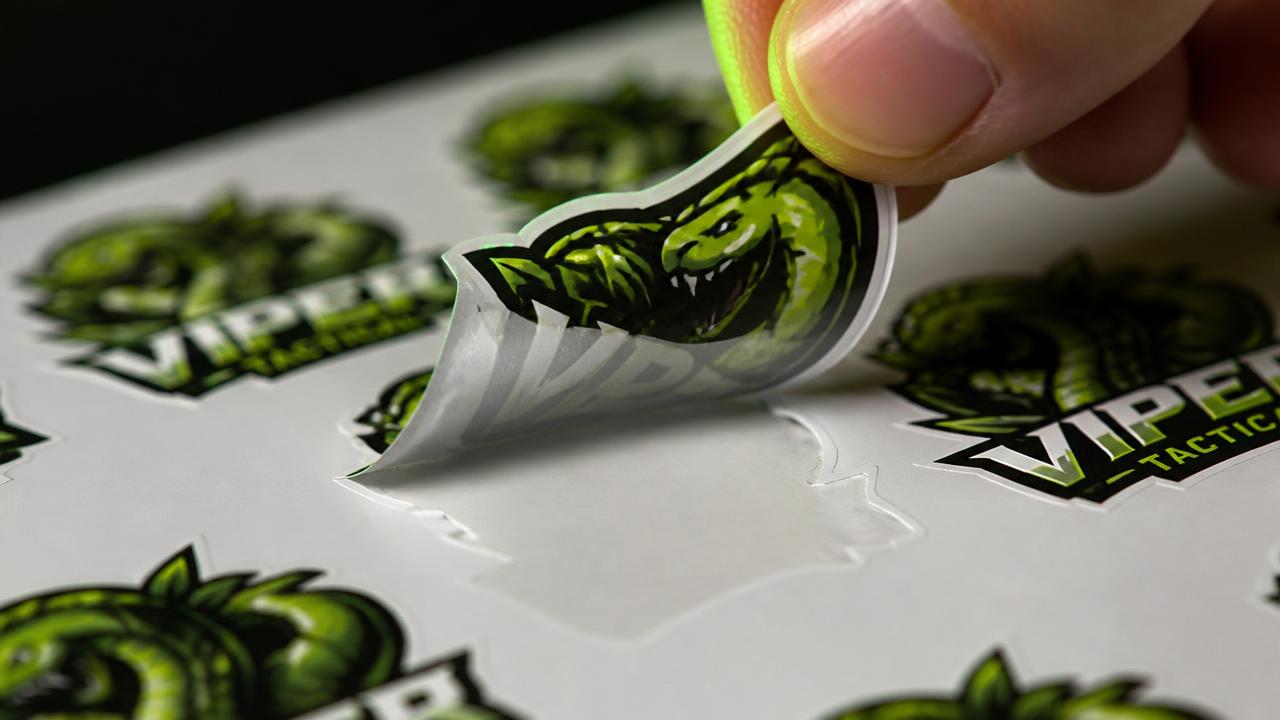
Contour cutting means the plotter follows the shape of the artwork instead of a rectangle. The difference between the options is how deep the blade goes.
| Type | What gets cut | Result |
|---|---|---|
| Kiss-cut | the vinyl only, the backing stays intact | sticker on a backing sheet, easy to peel |
| Full-cut | vinyl and backing | individual sticker, cut all the way through |
| Die-cut sheet | vinyl and backing across a multi-sticker sheet | a sticker set ready to hand out |
| Kiss-cut with square backing | the vinyl, on a straight cut backing | tidy look, ideal for merch and packing |
How to prepare the contour in your file
- 1Create a separate layer for the cut line, named CutContour.
- 2Make the line a spot colour, with no fill and a 0.25 pt stroke, so it does not print.
- 3Leave a 2 to 3 mm offset between artwork and contour, so no white edge shows if the cut shifts slightly.
- 4Round the corners to at least 2 mm, otherwise sharp corners lift over time.
- 5Send a single PDF with artwork and contour on top of each other, not two separate files.
What to choose for each use
- Merch and gifts: kiss-cut with a square backing, easy to slip into an envelope.
- Product labels on a roll: kiss-cut, for fast in-line application.
- Large stickers for glass or machinery: full-cut, with transfer tape for correct application.
- Promotional sets: several kiss-cut shapes on the same A6 or A5 sheet.
Transfer tape and lamination
For complex shapes or cut lettering, a transfer tape holds every element in position until it is applied. Lamination, matt or gloss, protects the print from scratches, water and UV, so it is mandatory for stickers used outdoors.
Need a recommendation for your project?
Tell us what you want to produce and we will suggest the material, format and timeline.